High Tide or Low Tide for a Shoreline Walk?
High tide or low tide for a shoreline walk? Match the tide to what you want to see, read a local tide table, and choose details to observe from shore.
The most common mistake in choosing high tide or low tide for a shoreline walk is assuming one offers the better view everywhere. That can mean arriving when the feature you hoped to see is underwater, or finding that the water has narrowed the shore. The useful choice depends on what you want to observe at that particular coast.
Choose a tide window
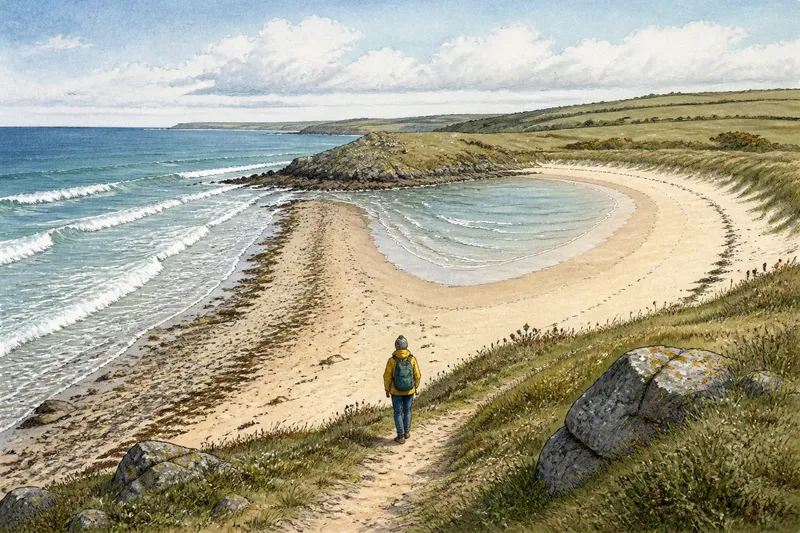
High tide and low tide change more than the amount of exposed beach. At high water, waves may approach the upper shore, while pools and low rocks disappear beneath the surface. At low water, the waterline retreats and can reveal pools, shell bands, and rock textures.
Choose an observation before you go. If you want to watch waves meet a seawall or see reflections on wet sand, a higher tide may suit the view from shore. If you want to notice tide pools or exposed rock, a falling or low tide may reveal more. Neither stage tells the whole story.
Use a tide table for the nearest relevant location. It predicts high- and low-water times, but does not describe the exact shoreline conditions. Wind, swell, rainfall, and the shape of the coast can change what you see. Treat the table as context for observation, not a promise about the view.
Plan a shoreline morning
Keep the plan focused rather than trying to cover every feature. Choose a public viewpoint or an open route, decide what to watch, and have a landward alternative in mind if the shore is unsuitable. The tide can guide your attention without setting a deadline for the walk.
- Tide table: Check the nearest relevant location and note the predicted high- and low-water times. If the table is for a distant coast, use a closer location instead; if no closer listing is available, treat the timing as a rough guide.
- Open route: Look for current access notices before setting out. If the intended shore route is closed, choose a public viewpoint or promenade; if it is open, still assess conditions when you arrive.
- Waterline marker: Pick a fixed feature, such as steps or a groyne, to help locate the waterline. If waves repeatedly reach it, observe from farther back; if they do not, use it as a reference rather than judging by one wave.
- Visible feature: Decide whether you want to observe pools, exposed rock, or waves near shore. If the feature is covered, shift attention to what is visible; if it is exposed, observe from an open route without crossing restricted ground.
- Route ahead: Notice whether water or surf makes the way forward unclear. If it does, turn back or use the landward alternative; if the route remains clear, continue only within the permitted area.
- Return view: Compare the waterline with its earlier position. If it has shifted, note one specific change; if it has not, record another detail, such as whether a ledge is covered.
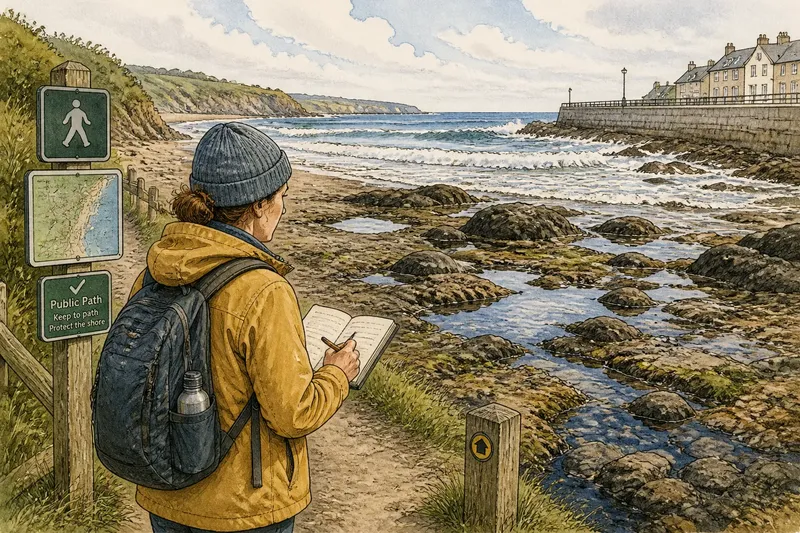
Say you arrive at a public beach on a falling tide with the aim of observing rock pools. The hypothetical starting point is a marked public path beside the beach, with a tide table showing that low water is still ahead. You read the signs, see that the pool area is reached only from that path, and walk a short distance along it. As more pools become visible, you note which are connected to the sea; when the path no longer gives a clear way forward, you return. The result is a focused observation without extending the walk across ground outside the permitted route.
Tide stages and views
What can high tide reveal?
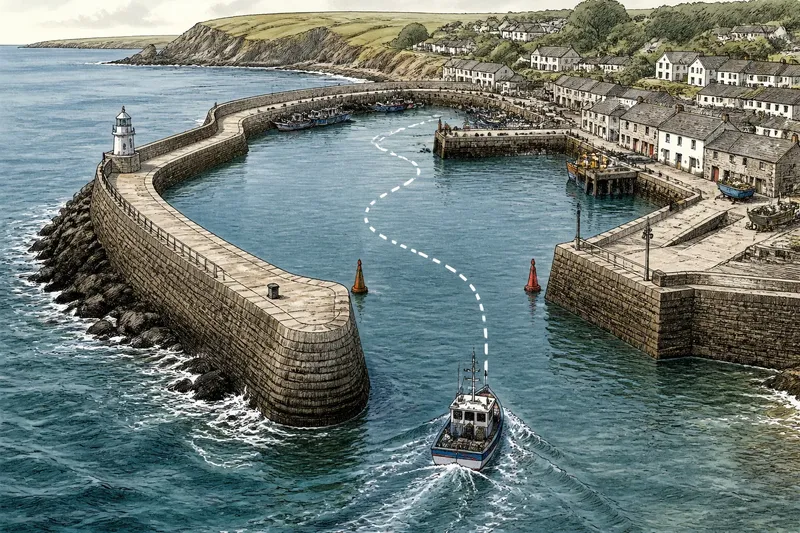
High water can bring wave action closer to a seawall, promenade, or upper beach, making the movement and sound of the water easier to observe from land. It can also cover pools and low ledges, so focus on features that remain visible from a public viewpoint.
What can low tide reveal?
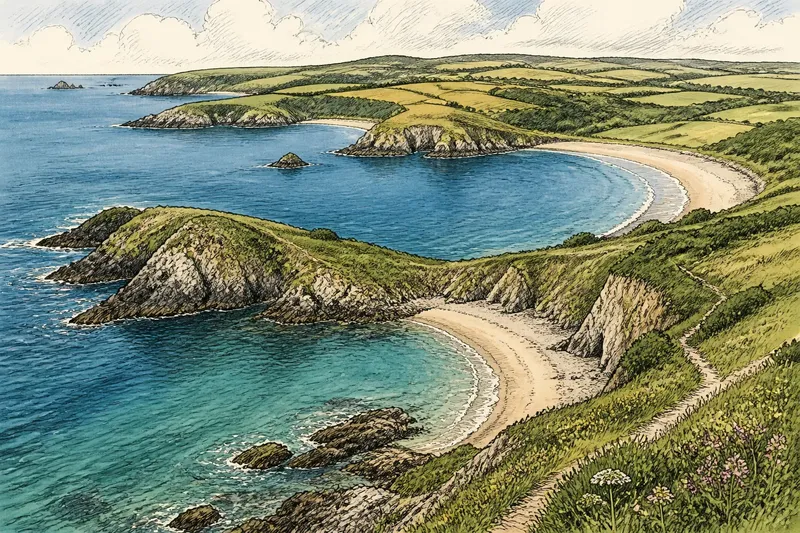
Low water can expose shallow pools, damp sand, and rock textures that are usually covered. Look for these features from an open route, and do not assume that newly exposed ground is an appropriate place to walk.
Is a falling tide better for rock pools?
A falling tide may reveal pools gradually as water withdraws, which can make changes easier to notice. Whether it suits a particular visit depends on the shore and the open route, so keep the observation from a place you can readily leave.
How should I use a tide table?
Use the table to understand the predicted timing of high and low water for a nearby location. Then compare that context with the actual waterline and conditions you can see; the prediction does not describe every wave or shoreline feature.
Read the shore itself
A tide stage is not the same as the reach of an individual wave. A large wave can run farther up the shore than the surrounding waterline suggests. Observe from a stable place with room to step back, and do not stand where water could leave you with a difficult route away.
For a repeat visit, use the same public viewpoint if practical. Note the date, approximate time, tide stage from the table, and one visible detail. “The lower ledge was covered” is more useful than a broad impression that the beach looked different.
High tide or low tide for a shoreline walk is a local choice. A promenade may offer a clear view of waves at high water, while a rocky shore may show more exposed texture as the tide falls. Match the tide to the feature you want to notice, then let the waterline refine your observation rather than dictate how far you walk.