The Harbour Wall: A Boundary Built for Movement
Harbour wall design shapes sheltered water and vessel passage. Learn to read its openings, angles, and basin connections from a useful public viewpoint.
The common mistake is to treat a harbour wall as a line that simply keeps the sea out. That can obscure what the structure costs when its shape ignores vessel routes, currents, or working space: shelter becomes an obstacle. Harbour wall design is better read as a way of shaping movement, separating exposed water from a more protected basin while keeping a passage open.
Stand back and the wall’s length, angle, and openings begin to explain which water it shelters and where vessels can enter. The same structure can deflect waves, mark an approach, and frame a working waterfront. It does not make the sea still. It changes how some of its effects reach the harbor.
Read the shoreline
Begin with the coast the wall faces. A harbor at a river mouth, in a bay, or along exposed shore meets different conditions. The landform, seabed, exposure, and room available for a basin all influence the wall’s position and shape.
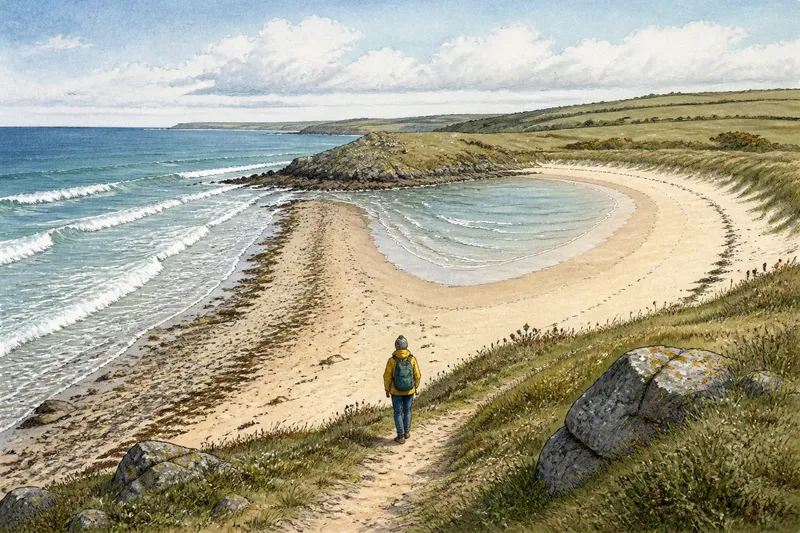
Some harbors use two projecting walls to frame an entrance. Others rely on a headland or sheltered inlet, with a shorter wall protecting the exposed side. On an open coast, a longer outer barrier may define a basin that would otherwise face incoming waves directly. These forms answer different local needs; none is a universal pattern.
Look at the wall’s connection to the waterfront as well. Quays, slips, and moorings show where vessels meet the shore. An entrance or gap is not necessarily a break in the design. It is the point where the boundary makes passage possible.
Match form to purpose
To understand why a wall sits where it does, consider the harbor’s main demands. Protection, vessel access, and room to maneuver have to coexist, though each setting puts that balance in a different place.
- Open coast: If the basin faces direct exposure, an outer wall may reduce the waves reaching its interior; if its entrance would leave too little room for vessels to approach, the layout needs a different route or more maneuvering space.
- Partly sheltered inlet: If a headland or bay already blocks some exposure, a shorter or angled wall may address the exposed approach; if the landform does not shelter the basin’s vulnerable side, look for another protective feature.
- River mouth or tidal channel: If moving water crosses the entrance, the wall and channel must leave a route for both current and vessel passage; if the apparent enclosure seems to cut across that route, the visible outline alone does not explain the design.
- Working waterfront: If quays, slips, and berths connect efficiently to the open sea, the wall supports access as well as shelter; if it blocks those links, the layout may require another entrance or a different working route.
These are ways to read a design, not rules for judging it from shore. Several needs can shape one wall, and its most visible feature may not be the deciding one.
Follow the entrance
The opening brings the wall’s roles together. It lets vessels move between harbor and sea, while its position helps determine how exposed waves reach the basin. A defined entrance can also make the route in more legible than an open edge.
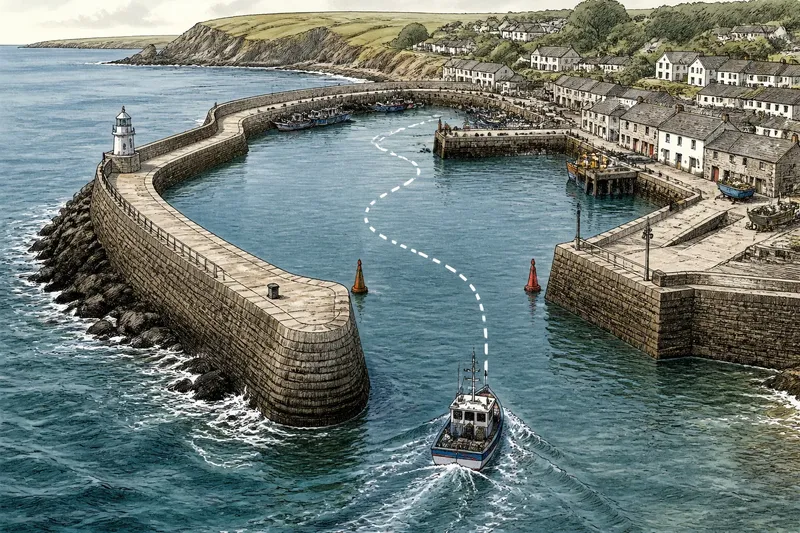
The shortest line through the gap is not always the route vessels use. An approach may bend around the wall to follow a marked channel, avoid shallow ground, or leave room for other traffic. From shore, the entrance can look simple even when the vessel’s passage depends on several conditions.
Imagine a small working harbor with a long outer wall and an entrance set to one side. A visitor might first expect an arriving boat to head straight toward the nearest opening. If the chart shows a marked channel curving around the wall, following that route instead keeps the boat on the charted approach and clear of the shallows it marks. The resulting view is an offset entrance that still provides an organized passage into the basin.
Compare sheltered water
The water behind a wall is not uniformly calm. Conditions near the entrance can differ from those behind a longer protected stretch. Wind, wave direction, basin shape, and the position of openings all affect how exposed different parts remain.
Read the basin and the wall together. A broad basin may give working vessels room, while its shape affects how water moves within it. A narrow basin can look enclosed from shore but remain exposed near its mouth. The wall marks an edge; the water’s response does not stop at the masonry or rock.
The top of the wall offers another clue about use. A broad crest may be designed for harbor work or public access, while a gated or signed section signals a different arrangement. Surface appearance alone does not establish permission or suitability as a walkway.
Trace the working edge
The inside face shows how shelter connects to daily harbor use. Quays indicate where vessels come alongside; slips mark places where boats move between land and water; mooring areas may sit farther from an exposed entrance. These features reveal how the wall helps organize movement as well as reduce wave exposure.
At the shore end, note whether the wall meets a quay, road, or natural bank. That junction shows where the protected basin meets the settlement and its work. A wall can shelter water without reaching the land, and a continuous-looking edge may contain service openings that are hard to see from a distance.
Questions about harbour walls?
Why does a harbour wall have an opening?
The opening lets vessels enter and leave and keeps the basin connected to the sea. Its position also affects how waves reach the sheltered water.
Does the wall make the harbour calm?
It can reduce exposure on the protected side, but conditions still vary near the entrance and across the basin. Wind, waves, currents, and the layout all matter.
Why do some harbour walls curve or angle?
The shape may respond to the coastline, exposure, or the route vessels need to follow. Read it in relation to the entrance and basin rather than as a decorative choice.
What can a harbour wall reveal about vessel access?
The entrance, channel, and nearby quays indicate how vessels connect the sea to the working waterfront. A chart or harbor map can clarify a route that is difficult to infer from shore.
Choose a viewpoint
To see how harbour wall design shapes passage, choose a place where the entrance and basin are visible together. A harbor map or local navigation chart can identify channels and named waterfront features; signs at the site clarify which places are open to visitors. Comparing the wall’s direction with the open-water approach often makes its position easier to understand than standing beside it.
For the working layout, look landward at quays, slips, and moorings. For vessel movement, watch how arrivals line up with the entrance and turn inside. Each view answers a different question about the wall’s purpose.
Use a viewpoint that lets you compare the entrance with the sheltered basin, rather than judging the structure from one stretch of its crest. That shift makes the wall’s bends, openings, and working connections easier to read—and shows how its shelter depends on keeping a route to the sea open.